The Aeropress is a versatile and cost-effective brewing method that delivers a smooth cup of coffee, free from the bitterness often associated with drip machines. Experience the magic of saturation brewing with this guide.
Equipment You'll Need
- Kettle
- Filters
- Grinder
- Scale
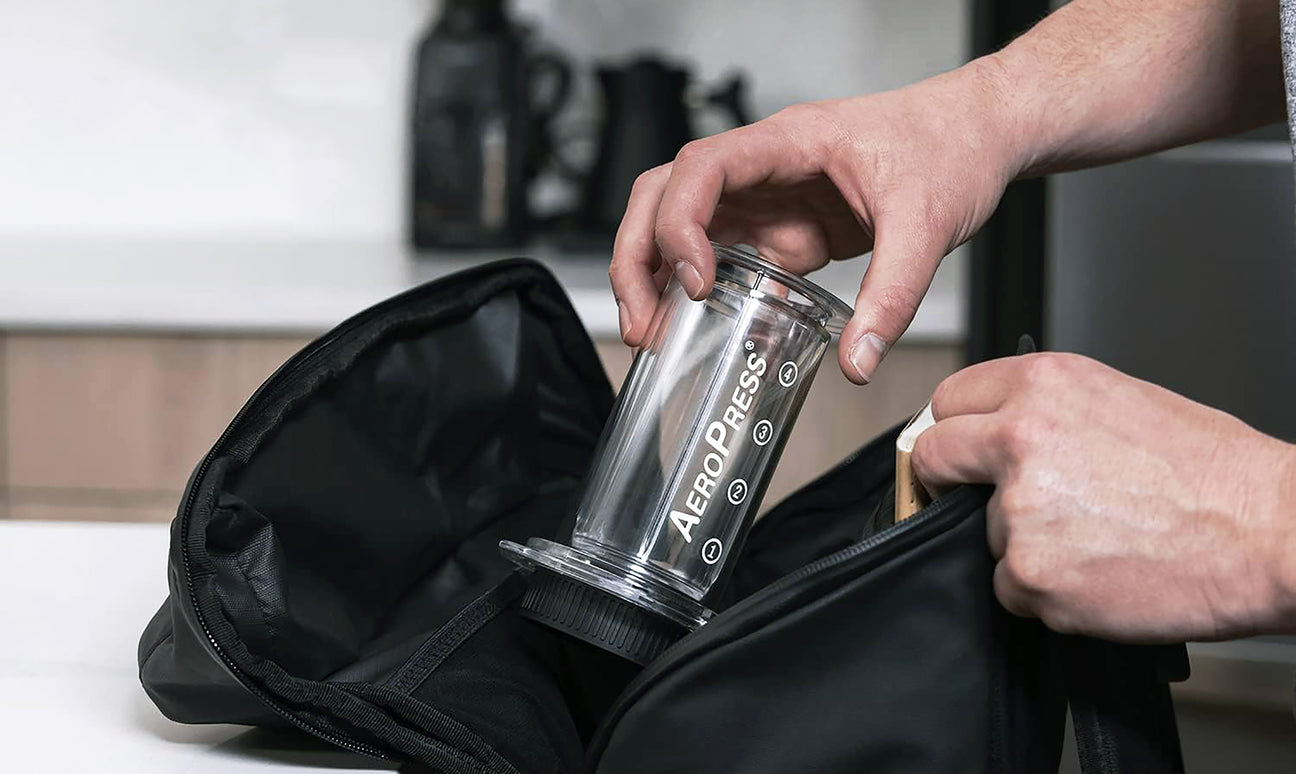
- Aeropress Brewer
Coffee Amount and Grind Size
- 15–18 grams
- Slightly finer than sea salt
Water Amount and Temperature:
- 200g (7 oz) at 205° - 210°F
Step-by-Step Guide
- Prepare Your Water and Coffee: Bring 7 oz (200 g) of water to a boil. Weigh out 15–18 grams of coffee. Grind to a texture slightly finer than sea salt.
- Prepare the Filter: Insert a paper filter into the AeroPress's detachable plastic cap. Use some of your hot water to wet your filter and cap.
- Assemble Your AeroPress: Make sure the entire assembly is dry, as any residual moisture can compromise the device’s seal.
- Place it on Your Scale: With the flared end up, then tare the weight.
- Add Your Ground Coffee: Be careful not to spill any grounds into the ring-shaped gutter at the top of the AeroPress.
- Saturate Your Coffee Grounds: Start a timer. Add twice the weight of water than you have grounds (e.g., for 15 grams coffee, add 30 grams water). The water should be about 200 degrees F.
- Fill the Chamber and Stir: Use the remainder of the hot water to fill the chamber. After a minute has elapsed, stir grounds 10 times to agitate.
- Fasten the Cap and Flip: Fasten the cap, ensuring it locks into the grooves tightly. Flip the whole assembly over with haste and control.
- Apply Pressure: Position it atop your brew vessel and begin applying downward pressure. You will experience about 30 pounds of resistance here.
- Discard the Puck and Enjoy: Once you’ve unscrewed the cap, you can pop out the filter and the puck of condensed grounds by simply pushing AeroPress’s interior section a final inch.
Troubleshooting
- Bitter or Harsh Taste: If your coffee tastes bitter, it may be over-extracted. Try using a coarser grind or reducing the brew time.
- Weak or Underdeveloped Flavors: If the coffee tastes weak or watery, it may be under-extracted. Consider using a finer grind or increasing the brew time.
- Inconsistent Brews: If your brews are inconsistent, make sure you're using the same coffee-to-water ratio and water temperature each time. A scale can help with this.
Pro Tips
- Stir, Don't Swirl: Use a chopstick or a narrow spoon to stir the coffee grounds after adding water. This ensures even saturation and can lead to a more balanced extraction.
- The Back Pressure Technique: To prevent water from dripping through prematurely, insert the plunger to create back pressure. This ensures that water is forced through under pressure for optimal extraction.
- The Inverted Method: For a more robust flavor, try the inverted brewing method. This allows the coffee to steep before any under-extracted coffee starts to drip through the filter, giving you a more balanced cup.