Coffee Cupping | A step by step guide
There is so much that goes into roasting that perfect cup of coffee, including a process known as cupping. This is a regular practice done at the roastery to ensure quality and flavour are to complete perfection. When you buy our beans or taste our coffee, we want to ensure that what you are getting is the best. Here is a step by step process known as coffee cupping.
Easy to Follow Steps For Cupping Coffee
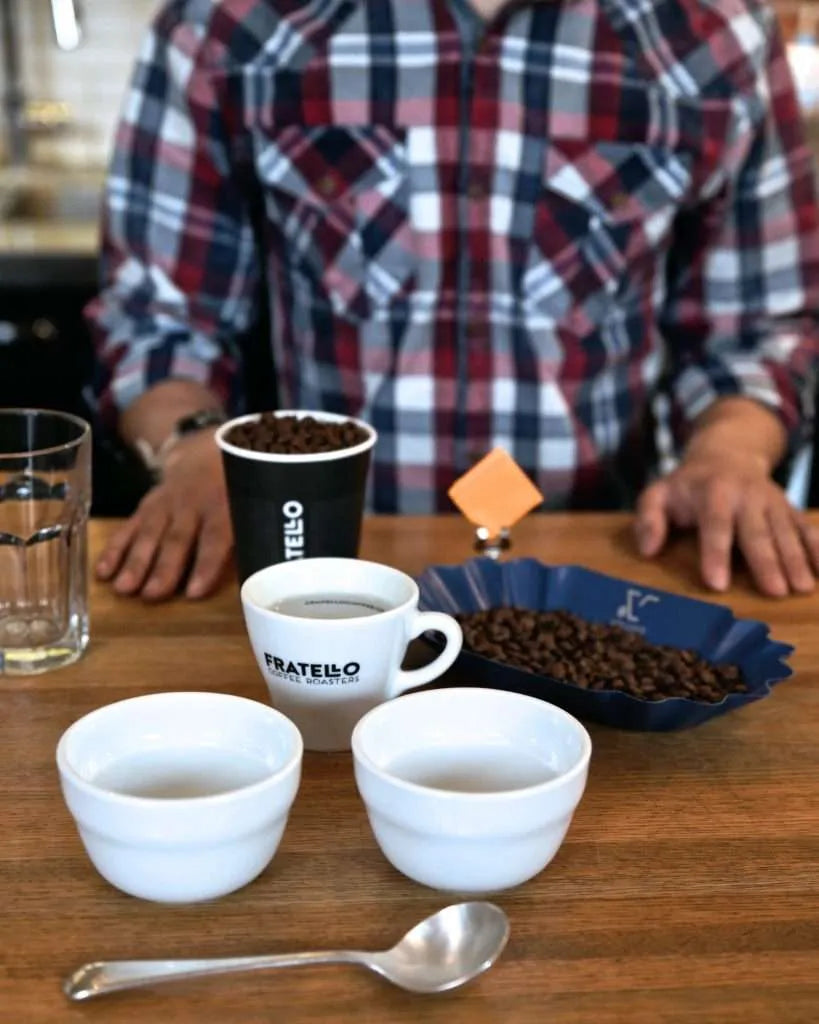
Step 1: Weigh and grind your coffee samples. The ideal ratio is 8.25 grams of coffee per 150 ml of water.
Step 2: Evaluate dry fragrance by smelling the dry grounds within 15 minutes of grinding your coffee.

Step 3: Infuse dry grounds with hot water (200° F (93° C)) filling all the way to the brim of the cup. Let it sit for 4 minutes leaving the crust unbroken.

Step 4: After the 4 minutes is up break the crust by stirring three times allowing the foam to fall off the back of the spoon while gently smelling the back of the spoon.
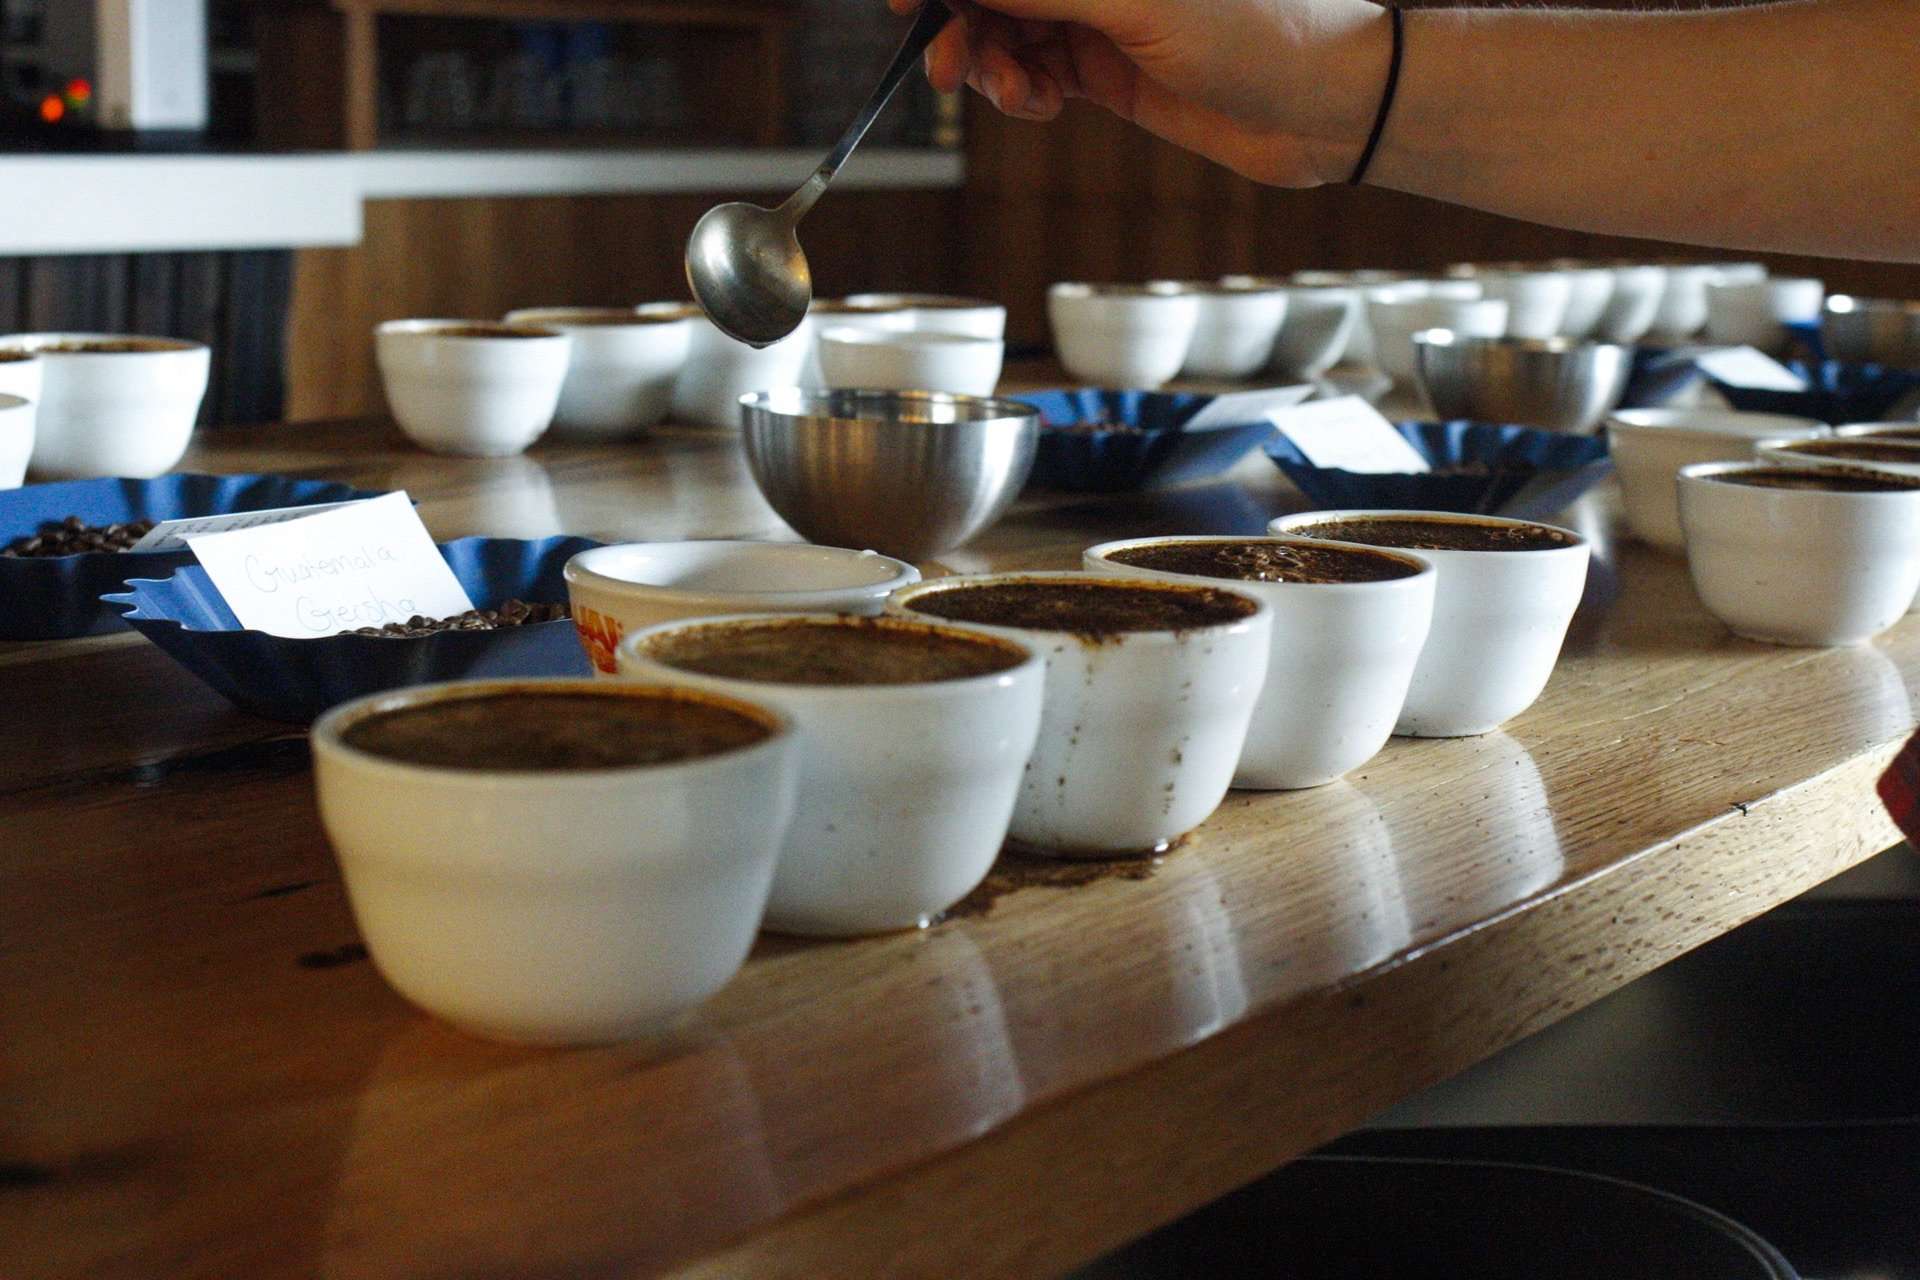
Step 5: Evaluate wet aroma/fragrance of the coffee samples on your SCAA scoring sheet

Step 6: Before tasting the coffee clear off the remaining wet coffee grinds floating on top of the samples in one swift motion using two cupping spoons.

Step 7: When the samples have cooled for about 10 minutes you can begin your flavour, aftertaste, acidity, body and balance evaluation.
When tasting: the coffee should be aspirated into the mouth so that it covers as much area as possible, making a very audible slurping noise. Flavour and after taste are then rated.
As the coffee continues to cool the acidity, body, balance are then rated. Lastly, the sweetness, uniformity and clean cup should be evaluated before your samples reach room temperature.
Step 8: Add all your scores on your evaluation sheets and you’re done! Based on your scores you can now determine the best coffee suited for your coffee shop.